

How to Create Your Own Family Yearbook Photo Album
My Goal: To Help you ENJOY your Photos
One of my biggest goals for my business this year is to help you ENJOY the photos you take. We are taking more photos with more ease than ever before because of the smartphone cameras we have in our pockets at all times, but I’ve noticed that for many people, these photos never make it off their camera roll & into frames or albums around their home to enjoy! The same goes for clients after booking professional photo sessions. You’ve invested time, energy, & money into having high quality portraits taken of you and your family, but do they stay trapped in your online gallery? Those photos deserve a place on your walls, your mantle, your coffee table, etc!
What are Family Yearbooks?

Each year, I design a “family yearbook” for my fam to enjoy all of our photos from the previous year. It’s a mix of random cutie photos from here & there throughout the year along with special occasions, travels, & holidays. A mix of (mostly) iPhone photos & some professional images we invested in that year, too! It is a labor of love, but we are obsessed with these albums. My kids flip endlessly through them & laugh at the silly photos & smile at photos of family members they don’t get to see every day.
Think of these albums as a collection of all your favorite moments from the year. You only have so much wall & surface space in your home for displaying framed photos, so you naturally have to be more selective when it comes to which ones you choose to print. But when it comes to your family yearbook, you can still print all of your favorites without being quite as selective.
In this blog, I will share a process I recommend for designing your family yearbook throughout the year so that come December, your album is almost finished and ready to print in the new year! I’ll share some tips for photo editing, album layout & design, and overcoming OCD when choosing your favorite photos for the album.
If at any point in this blog you decide, NOPE, there’s no way I am going to do this myself - I would love to design your family yearbook for you! Send me an email to get more information, here.
A Step-by-Step Guide to Designing Your Family Yearbook Throughout the Year
This guide is based off of a monthly rhythm, but you could also choose to do it quarterly or whenever suits your fancy. Obviously the more time you let pass in between updating your album, the more time you’ll need to sit down & complete the task. When I have done these all at once at the end of the year, it’s taken me a good day or so to complete because there are so many photos to sift through. I think you’ll find it more enjoyable if you work on it in chunks throughout the year.

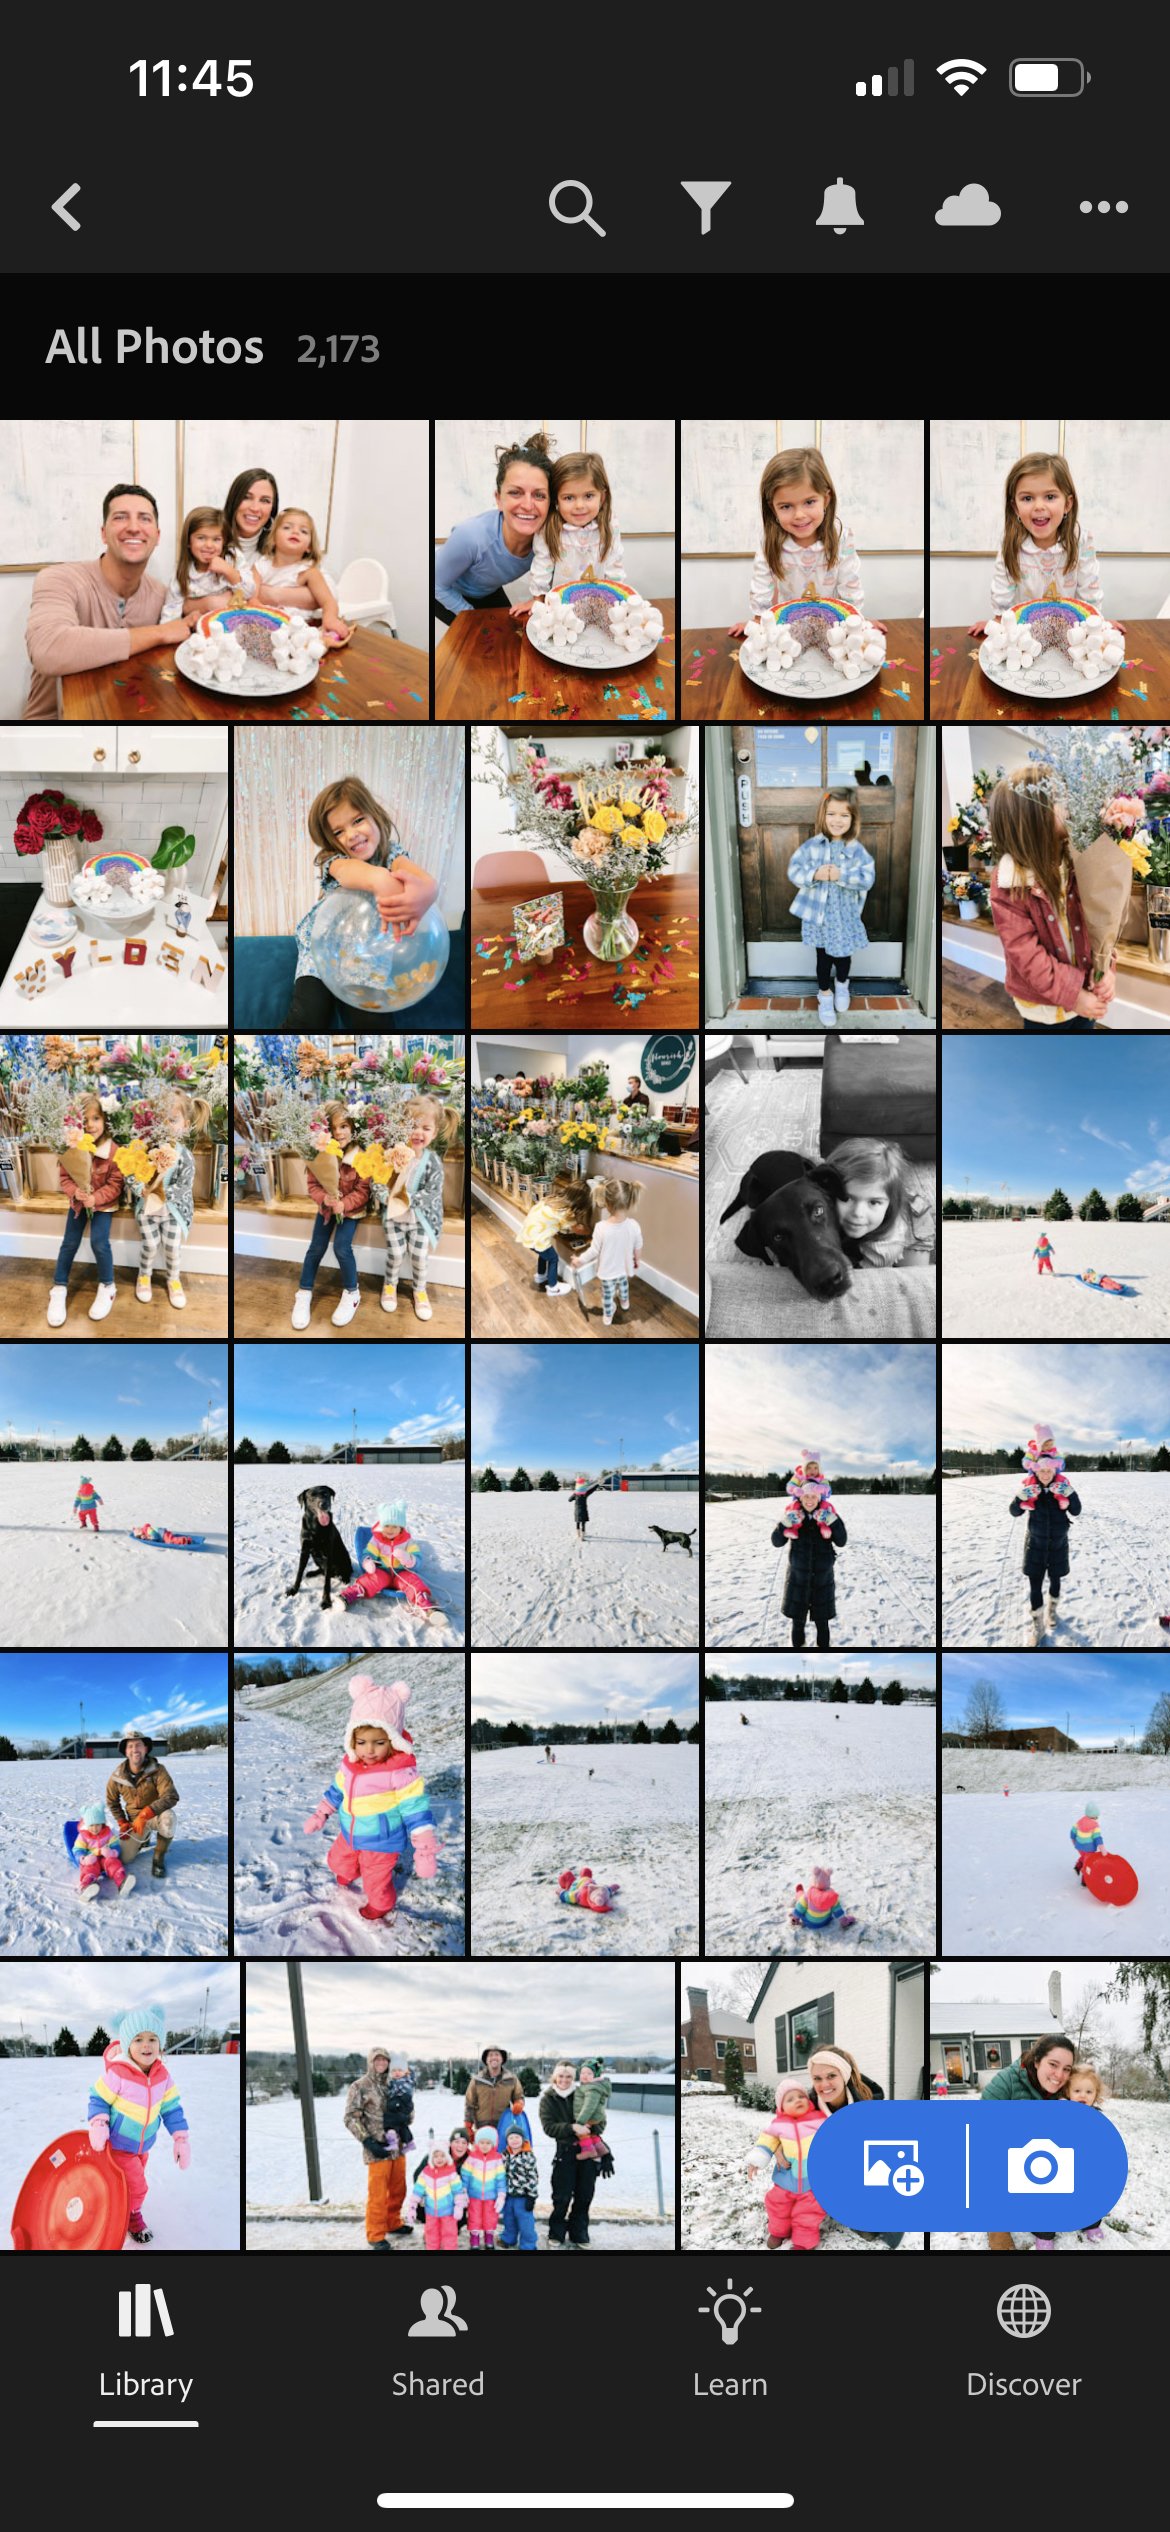
Use the heart icon to choose your favorites along the way.
Step 1 : Choose your favorite images along the way.
The easiest way to design your yearly photo album is to chip away at it monthly throughout the year. Use the heart icon in your photo library to select your favorites throughout the month & then you can review them all in one batch at the end of the month.
You can do this as you take the photos every day. For example, when you take a photo that you just know instantly deserves to be in the family yearbook, you could favorite it right then & there. Or, for more of a systemized process, you could review your photos on a daily or weekly basis and favorite them in batches. For example, every Sunday night you could review your photos from the week and select your favorites, delete duplicates & unnecessary photos while you’re at it, and check that off the list. This all probably depends on how many photos you take on average. As a photographer, I likely land on the spectrum of taking more photos - but it’s all relative!
Note: Your iPhone photos can still be treasured heirlooms. As a professional photographer, I can get a little caught up in the aesthetics of my photos, so much so that it paralyzes me from creating these personal albums. But I have come to believe that it is more about the memory captured than the quality of the photo when it comes to family yearbooks. You aren’t getting a grade on this, this album isn’t about building a personal “brand.” Yes, you want it to have consistency & be beautiful & somewhat curated, but it is OKAY if this whole album isn’t completely seamless. This album will be full of your favorite moments from throughout the whole year. Different landscapes, different lighting, different color schemes. Life is not a perfect instagram grid & that’s okay. 😊
Step 2 : Review your favorite photos at the end of the month.
Set yourself a reminder on your phone for the last day of each month. This is when you can review your favorite photos for your album. This is also a good time to consider removing some photos from your favorites. Remember, however many photos you favorited for this month will be multiplied by 12 for your final album. So, 10 favorite moments from each month will equal an album of 120 photos from the year, for example.
A few things to consider when reviewing your monthly favorites:
Repeat after me, it’s okay if it’s not perfect. There is no album big enough to hold every memory & every moment from the year. You will have to let go of some photos. It’s okay. It doesn’t mean those moments didn’t matter, it doesn’t mean those people don’t matter. You can just only have so many photos. And the goal is to keep moving. If you feel analysis paralysis keeping you moving forward, I want you to set it aside. That will stop you from finishing this album. And a finished album full of some beautiful memories is better than an unfinished album with ALL of them. Years down the road you will be SO glad you designed this album and you won’t be worried about the photos that didn’t make the cut.
Do you have any duplicate photos? Could you choose one of those instead of all of them?
Is there one photo that encapsulates a sweet memory in the same way it would take three other photos to do so? If so, maybe you could keep the one and remove the other three.
What story are you trying to tell & what are you trying to remember? For example, if I want to remember everyone who came to my daughter’s birthday party, I will intentionally choose to have everyone represented in a photo (& ideally in as few photos as possible). Or, if I want to remember what we did for her birthday, I may have a photo of each little event & fun thing we went to do - a photo from going to get ice cream, a photo from riding bikes, a photo from her birthday party, etc.
Step 3 : Edit your favorite images from the month in one batch.
Now it’s time to upload all of your monthly favorites to your favorite photo editing app. Doing this in one batch will save you more time than one-off editing.
I recommend the free Adobe Lightroom: Photo Editor app for editing your photos. This gives you access to all the editing tools that professionals use, but for free on your phone! It’s available for iPhone or Androids.
If you want to go a step further and make your editing even easier, download my editing presets or another preset of your choice. This will give all of your photos a consistent & more curated look. After applying my preset, you’ll usually only to need to make slight editing tweaks to fit your specific photo - like increasing/decreasing the exposure so that the photo has the right brightness or adjusting your White Balance temperature & tiny so that the colors look the way you want them to.
My presets come with specific video tutorials on how to tweak the preset to fit your specific photo. If the Lightroom app overwhelms you, these tutorials will break it down for you so that is doesn’t seem daunting! Editing is actually so much fun & once you get familiar with the app, you will be able to edit your photos so quickly.
Remember, you can apply your preset + tweaked editing settings to batches of photos at once! For example, once you get the editing right for a photo from the beach, you can copy & paste those same editing settings to all of your photos from the beach. Click the 3 dots in the top right corner, click “Copy Settings”. Then hit the < symbol in the top left corner to see all of your photos. Click the 3 dots in the top right corner, click “Select".” Select all of the photos you want to paste your editing settings to, click “Paste” in the bottom of your screen.
Step 4 : Upload your edited favorites to the album design company of your choice.
When it comes to family yearbooks, I recommend the Hard Cover Photo Books from Artifact Uprising. (That link will save you $20 when you check out.) These photo books have beautiful quality & color accuracy, but still allow you to have a lottt of pages if you have a lot of photos like me, all at a reasonable price.
Disclaimer: When designing a professional, more curated, flat lay album for my photography clients, I use White House Custom Color. This is the print company connected to the online galleries I deliver to my clients. I love their leather bound flat lay albums for boudoir, wedding, and professional photo shoot sessions. When the album is open, the two pages lay seamlessly side by side. These albums typically have less photos and less pages altogether. These albums are definitely “fancier” and more upscale. But I don’t use this option for family yearbooks, because I think there is a higher goal of quantity when it comes to choosing photos from the whole year and these flat lay albums have a limited number of pages due to the thickness of each seamless spread.
So while I love WHCC and will recommend these albums to my clients for heirloom albums, I have also faithfully used and enjoyed Artifact Uprising for creating personal photo books throughout the years. And this is what I’d recommend to you if designing your own album of every day photos.
As I mentioned above, I recommend their Hard Cover Photo Albums. These albums are not flat lays - meaning, when you open the two pages they don’t lay straight across seamlessly, but they are beautiful quality and allow a large amount of pages, which I typically need for our family yearbooks because I take a lot of photos throughout the year! I choose the 8.5x8.5 inch size and select a full cover jacket.
Step 5 : Design a month’s worth of pages in your album.
Again, you will be so glad that you did this on a monthly basis so that you don’t have a huge overwhelming project to tackle at the end of the year!
When it comes to layout and design, I think less is more. I usually design my pages with only 3 photos per page at max, but I occasionally will use the 4 or 9 photo option when I have several photos from one specific event that i want to try to condense to fewer pages.

Knowing the size of your album can help you keep you on track for not stuffing every page full of photos. The less photos you include on each page, the larger they will be. For example, if this album is 8.5 by 8.5 inches, each of those three photos on the left side of the spread will only be about 2-3 inches tall, and around 5-ish inches wide.
Some photos just deserve to stand alone. If you have an absolute favorite photo of your kids or your dog or a beautiful photo of scenery - don’t be afraid to let that photo get a page all to itself!

I love this photo of me and my girl on the left! I wanted it to have its own little special spot.
Think in terms of spreads. A spread is two pages laid open side-by-side. Instead of seeing each page as a stand alone, I design the book with the whole spread in mind.
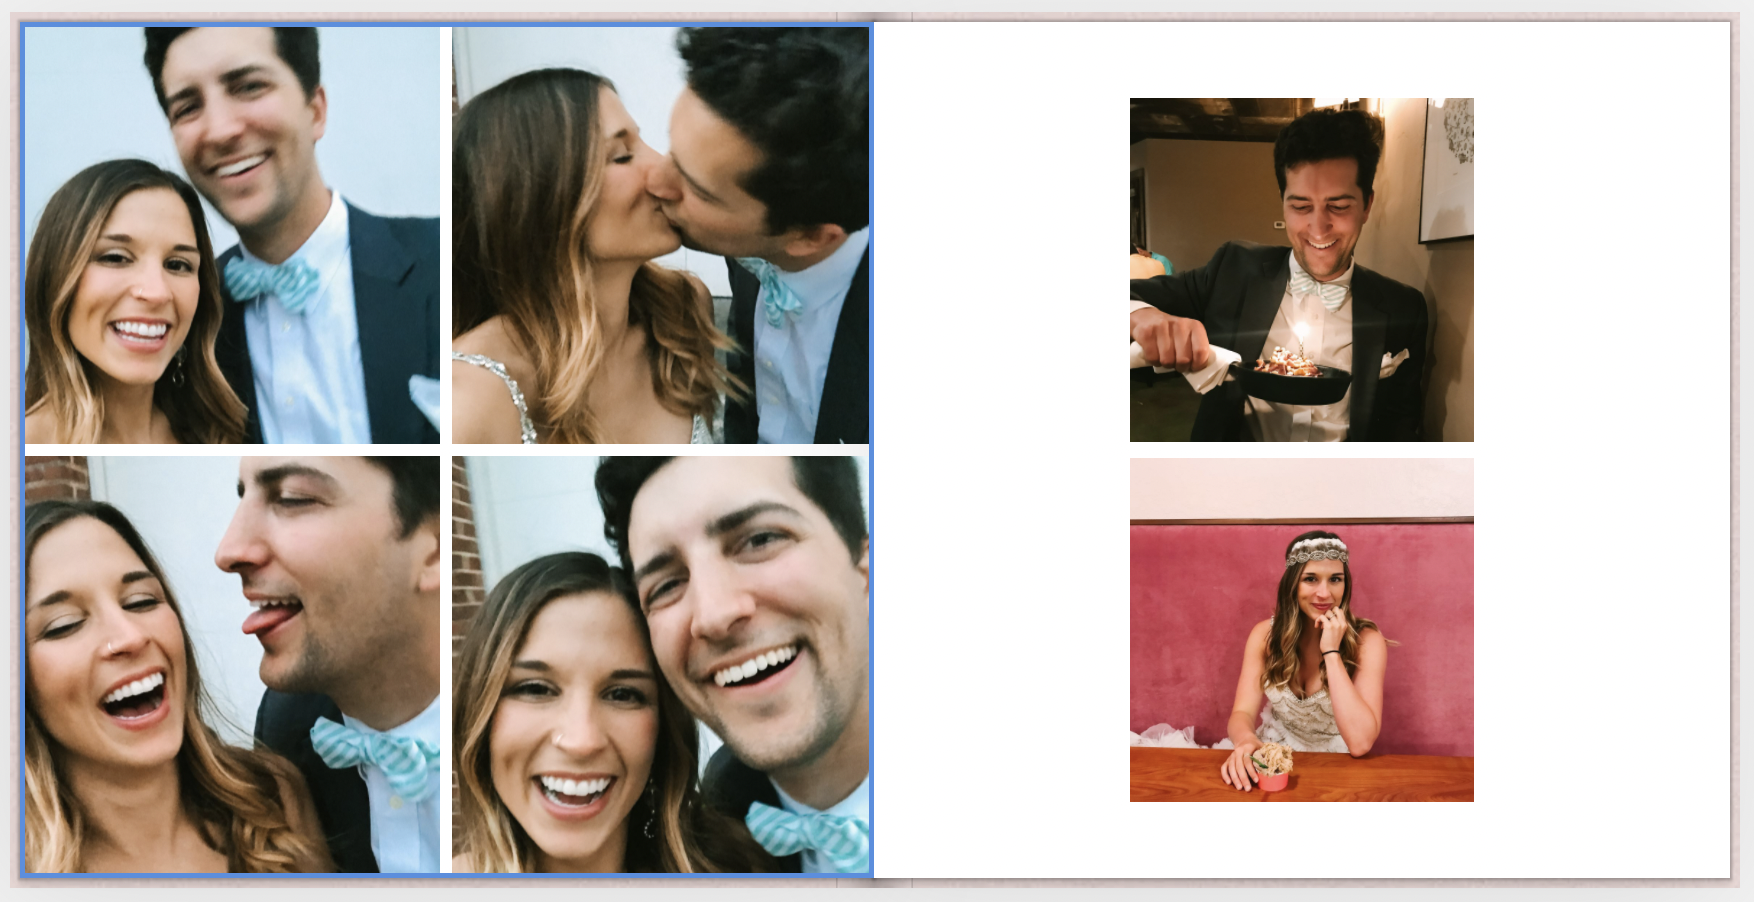
Here is a spread from our anniversary in 2018 when I wore my wedding dress & Harrison wore his wedding suit out on a date! These two pages are laid open side by side.
You can also use text options. Personally, I don’t add text to my album when editing, but I do choose the matte paper option so that if I wanted to write in little thoughts about different memories, I could do so after receiving the album. Personally, I like the idea of having my own handwriting in the book to keep it more personal & homey feeling - like the good ol’ scrapbook days.
After you’ve designed your month’s worth of pages, don’t forget to SAVE your album. It will be waiting for you when you log in next month!
Step 6 : Don’t forget your favorites photos from photoshoots.
Photos you may not have on your phone’s camera roll that you’ll be sure to want to include are photos from any professional photo sessions you invested in this year. I usually have these photos saved in an online galley, in a desktop folder, or on a hard drive so I make sure to add these in where they fit chronologically throughout the year.
I typically give these photos their own separate spreads so they can stand alone. I don’t love having iPhone photos on one side of the spread and professional images (or photos I’ve taken with my digital camera of our family) on the other side of the spread if I can help it. I think it looks more cohesive this way.
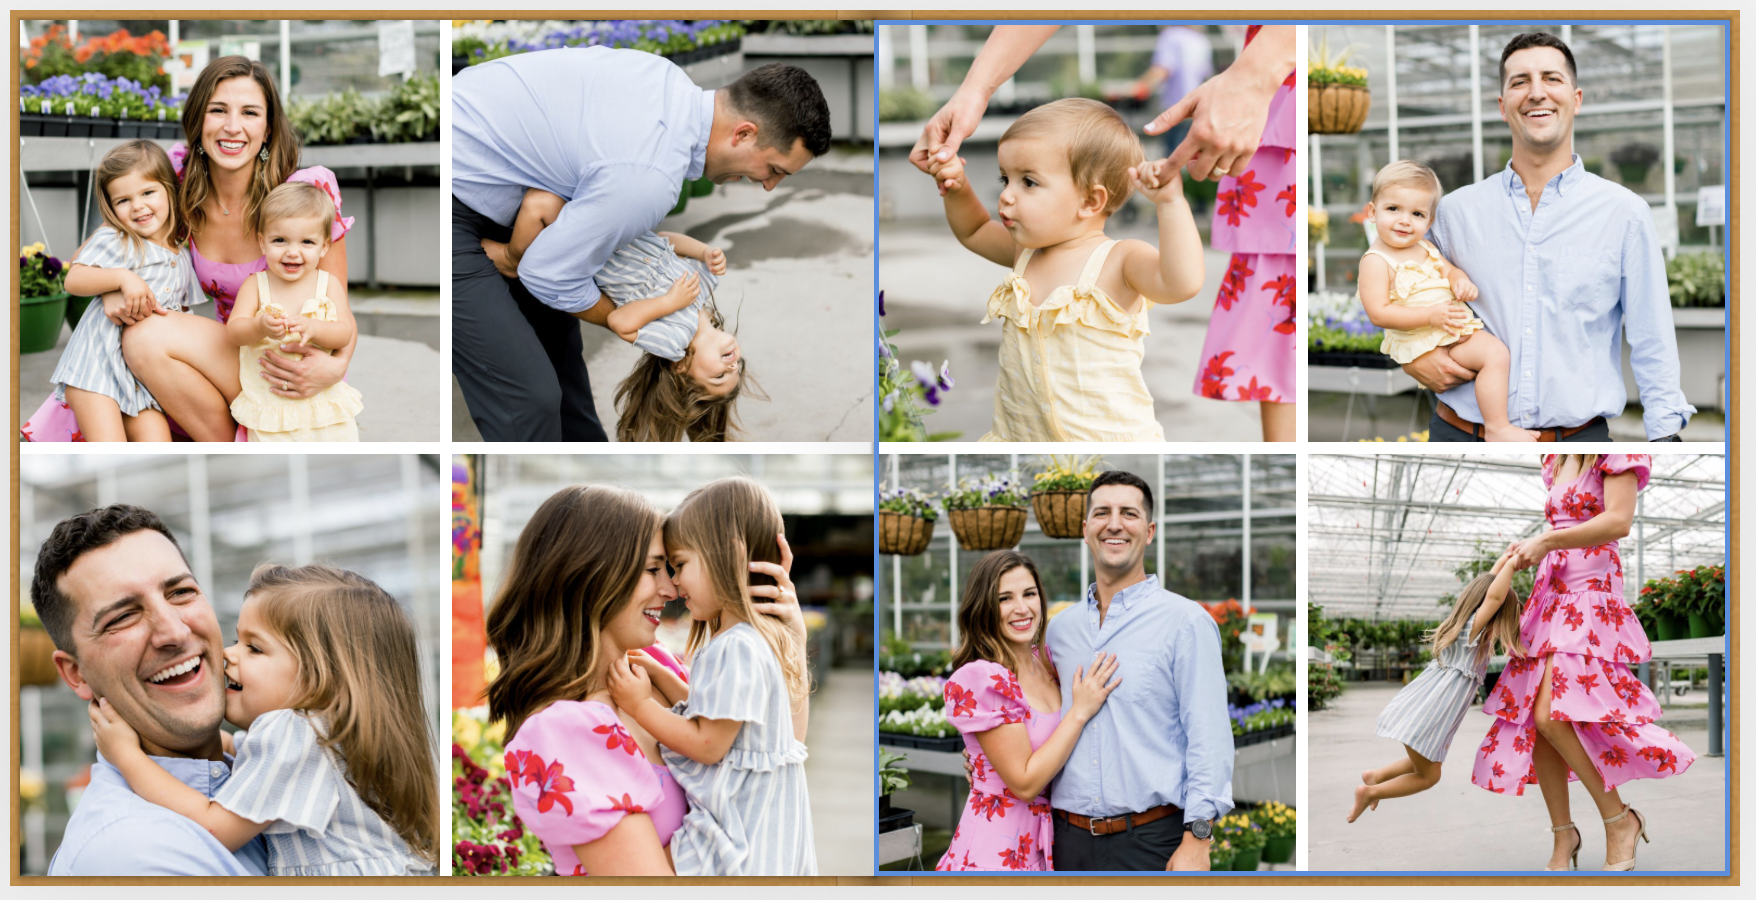
I designed this spread like one big collage from our professional family photo session. Something to keep in mind though, is that this is not a lay flat album so there will be part of the inner photos missing because of where the seam is. If you don’t mind that, great! But if you don’t want any of the photo to be lost, consider leaving white margin on the sides when choosing your layout for your pages.
Step 7 : Repeat.
Remember to set a little reminder in your phone for the end of each month. You will be so glad you broke this project up into chunks throughout the year come December. Trust me!
“Suzy, darling. Thank you, but I will never take the time to sit down & do this myself.”
For all my people feeling this way, I feelll you. If this whole blog felt overwhelming, it may be best to outsource your family yearbook album design. I would love to design your album for you!
Send me an email to get started & I will send you all the details & information you need to get started. I love designing these albums for others. It combines my love for photography & organization in the most satisfying way! 💕