

How To Take Family Photos with Self-Timer | Suzy Collins Photography
Ready to take a great family photo?
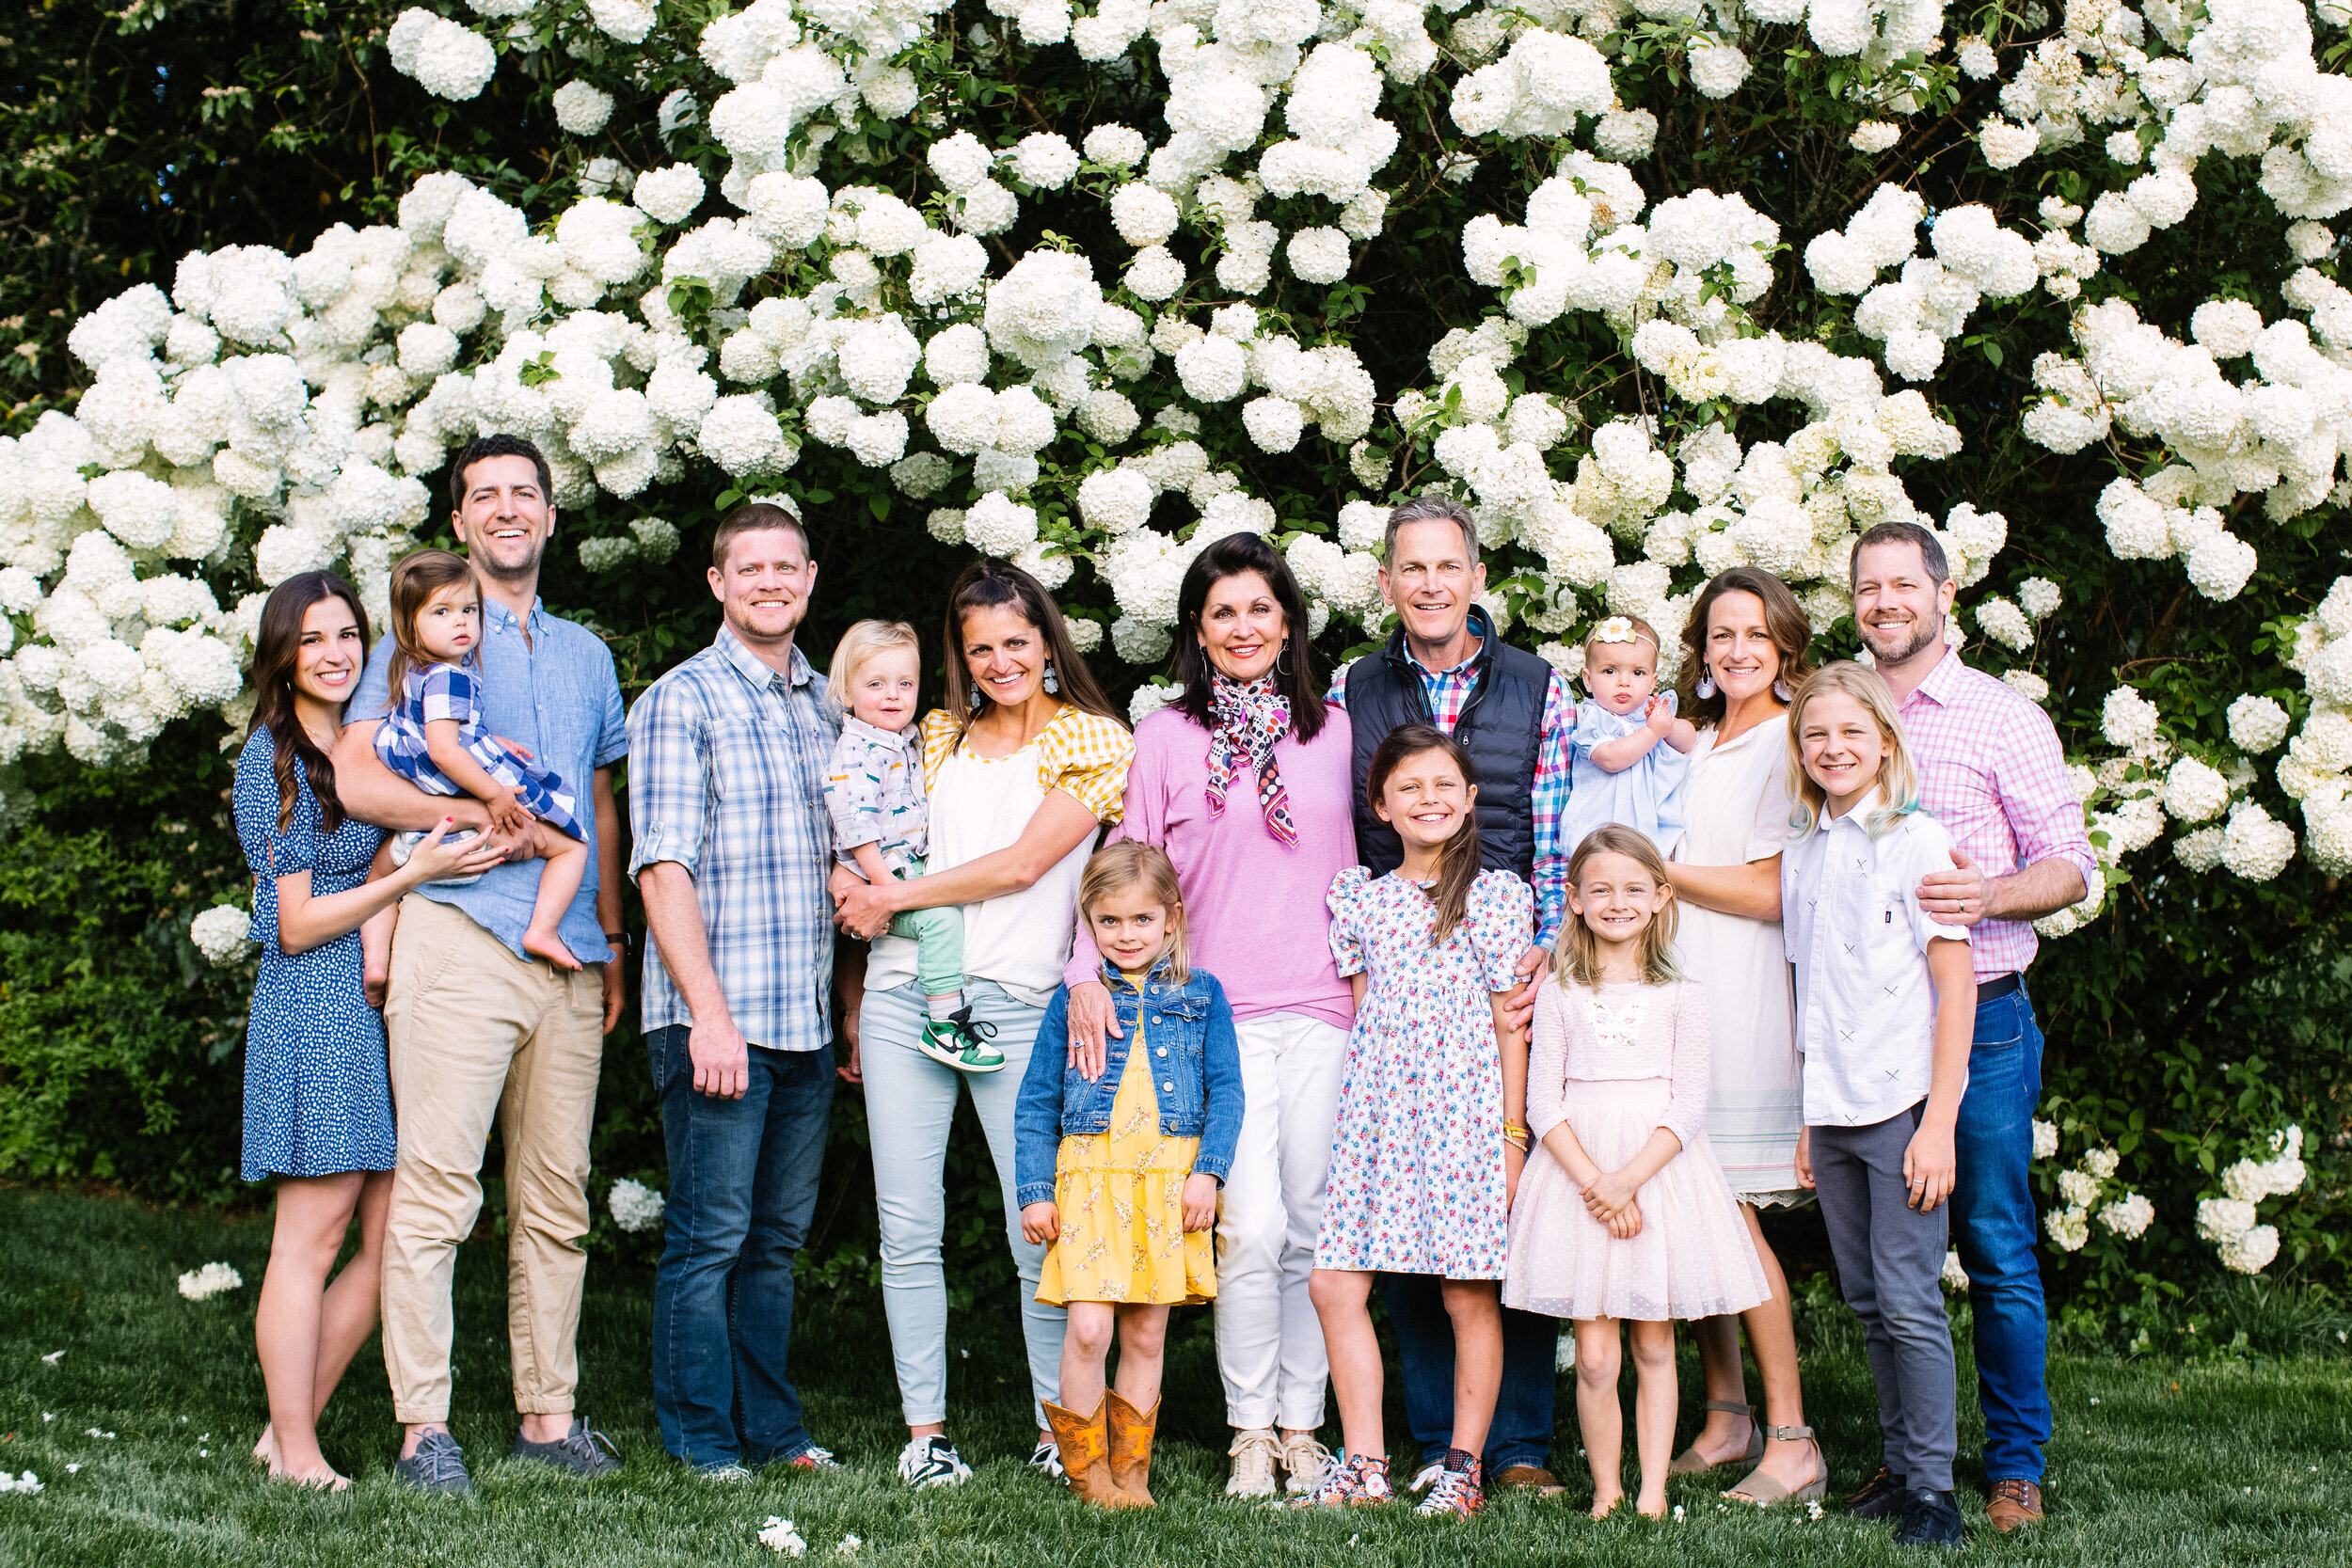
No matter who you are celebrating Passover or Easter with this year - whether that be immediate family, roommates, or your fur babies - your holiday deserves to be captured in a photograph so that you can remember it in the years to come. I know that social gatherings still may not be totally “normal” right now, but this season is still worth remembering. And I think we can all find joy in the midst of our various circumstances!
So, I wanted to share a few tips with you all on how to take a great group photo using the self-timer feature on both your digital CAMERA & your PHONE! Whatever camera you have on you is the best camera for capturing memories, so let’s make the most of what we’ve got!
The photo shared above was the Easter photo I took of our family last year using the self-timer feature and I know I will be taking similar photos this Easter weekend, too! This blog will teach you how to do the same!
Note: The tips for I am sharing for your digital camera are given assuming that you do not know how to operate your camera in Manual mode. If you would like to learn more about how to be in total control of the settings on your camera to take a perfect photo, you can take my Digital Photography 101 course! It’s the perfect resource to learn how to take beautiful everyday photos of the people you love.
General Tips
LIGHTING
Choose a location in even light. Preferably this would be a spot in open shade, where everyone in the photograph would be evenly lit without harsh sun spots or shadows coming across any part of their body. Be careful if standing beneath a tree that the lighting isn’t spotty coming through the leaves.
Or, you can choose a backlit location, with the sun behind you. Just be sure that there is something to filter the direct light from the sunlight so that you don’t catch sun flare in your lens.
SPACING
Get your bodies close together! Hip to hip, or cheek to cheek if you are taking the photo from a closer perspective. This is a group photo with people you love, so eliminating the dead space between you all will make the photo feel warmer & happier!
GETTING LITTLES TO LOOK AT THE CAMERA
Okay guys, no guarantees on this one. Ha! The struggle of self-timer photos is that there is no one behind the camera to make your kids laugh! One tip, try placing a funny toy on top of your camera or next to your phone and right before the camera snaps the photo, say something silly about it! Your wubbanub just burped, Wylden! Elmo has a goldfish on his head! Don’t be afraid to say the goofy things my people.
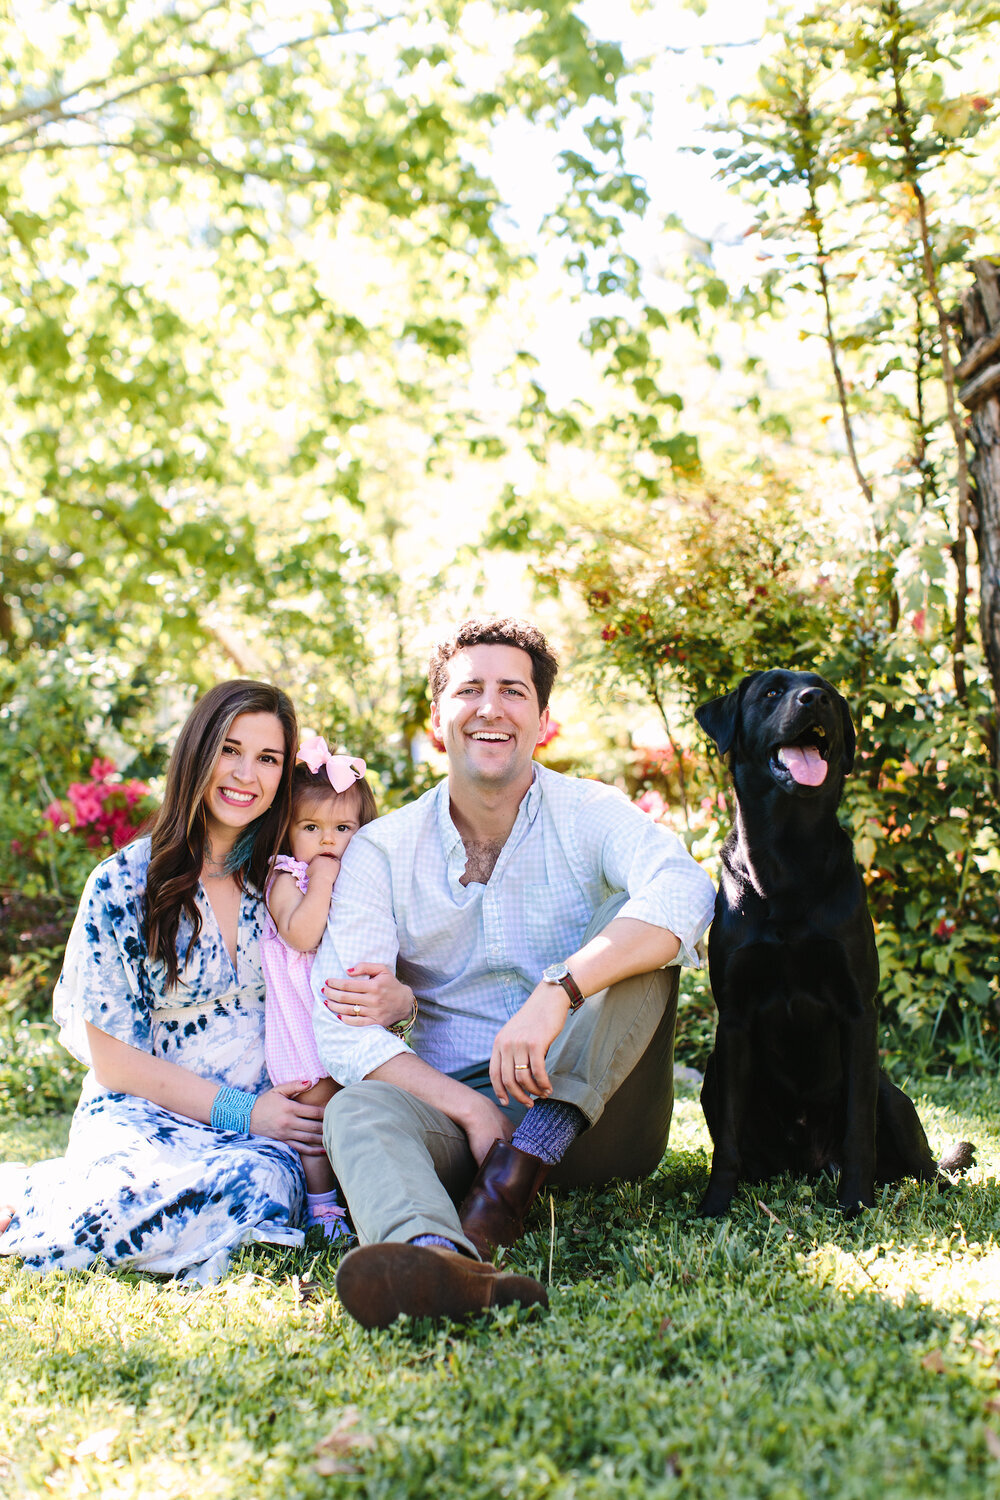
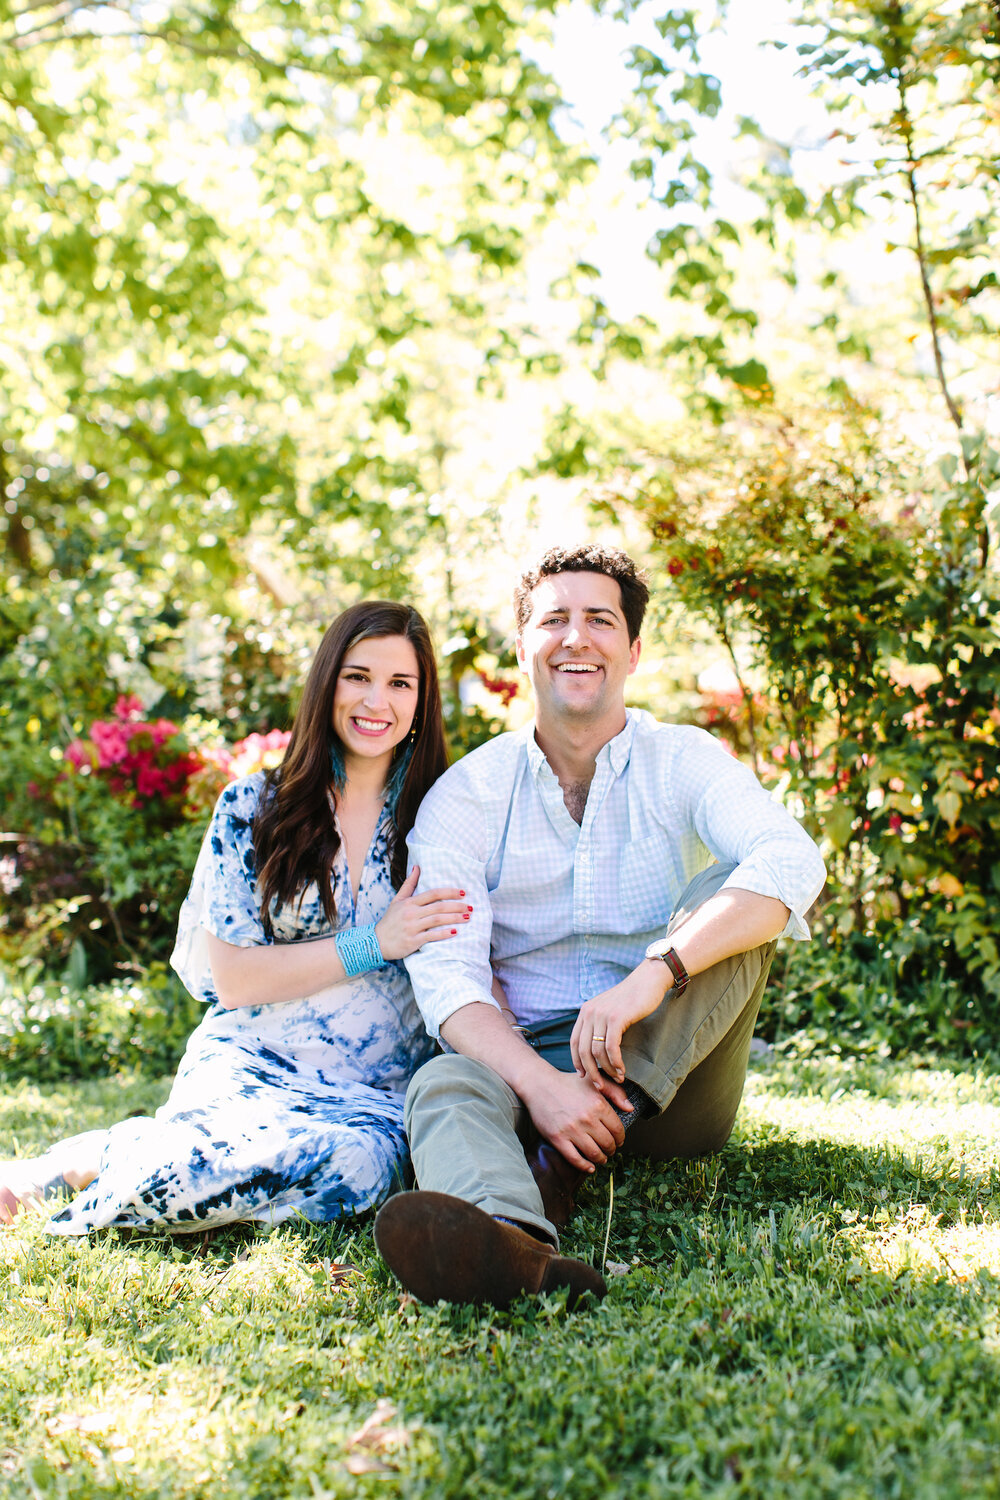
Oh my goodness, I took these self-timer photos two Easters ago when I was pregnant with River. Time flies!
Self-Timer Photo with a Digital Camera
What You Need
A tripod and remote for your camera are super helpful when taking a photo with a self-timer. Neither of these need to be fancy! I use this self-timer remote from Amazon that was only $9! (You can select Canon or Nikon depending on your camera.) And a tripod like this (only $26) will be compatible with most digital cameras, too!
But, if you don’t own a tripod and remote, all you need is something sturdy & level to set your camera on and a quick little jog to hop into your photo in time after you press your shutter button. I know that I look ridiculousss when I do this little shuffle, but hey, it’s for a good cause! ;)
Self-Timer Setting
Camera settings can vary per camera, but most have a self-timer functionality. You can Google search your specific camera make and model to find out where it is in your camera settings if you’re having trouble locating it.
Some have 2-second timers (this is a fine option if you’re using the remote I mentioned) or a 10-second timer (this is a better option if you're doing the truffle shuffle, hehe.)
Focusing Your Camera
With most cameras, you will have the ability to focus your camera by holding down the shutter button halfway. First, make sure that your LENS is set to Auto Focus (AF) on your lens. Then, to focus, before you fully press down the shutter button to take your photo, hold it halfway down to focus on one of the main subjects faces (mores specifically, their eyes) and then once it is focused, you can finish pressing the button all the way down, and hurry to get into the photo!
If using a remote, as you press the button on your remote, you will see your lens trying to adjust and focus, and it will make its best guess of where to focus, so be sure that the lens is pointed towards your faces. To help your camera out, you can also focus it halfway down on someone’s face before stepping into the frame, and then pressing the remote button to take the photo.
Double check to make sure you have everyone in focus before moving on! Zoom in and make sure everyone looks crisp and clear!
Going a Step Further with Settings
Now, you can totally use Auto mode if you want, and your camera will make its best guess for the different settings of your photo. But if you’d like to take it one step closer to total Manual mode, switch your camera to Aperture Priority. Using Aperture Priority gives you control of the aperture settings in your camera while the rest of the settings adapt automatically. Aperture is what determines depth of field and ultimately, how much of your photo is in focus. You know that pretty blur you see in the background of photos? You can achieve that when you understand how to use aperture!
I won’t go into depth about what aperture is in this blog, but if you’d like to learn more about how to utilize your understanding of aperture to take beautiful photos, you can sign up for my Digital Photography 101 course! Learn more & sign up here!
To switch your camera to Aperture Priority on a Canon camera, turn your camera mode dial to “AV”. If using Nikon, change to camera mode “A”. Now, adjust your aperture (measured in F-stop) to at least the number of people you have in your photo. (This is a good general rule of thumb to use without going into further explanation.) You’ll see the aperture number of your camera beside the letter F. This number can vary from anywhere from about F1.2 to F22. If there are 2 people in your photo, I would suggest you use F-stop 2.2 or higher. If you have 3, at least 3.2. If you have 4, use 4.0. And if you have 5 or more, at least 5.0. Again, this is a veryyy general rule of thumb without explaining how or why we adjust our aperture in photography.
Self-Timer Photo with an iPhone
What You Need
They sell very helpful little iPhone tripods on the interwebs these days like this one, but a kitchen stool or other sturdy item will also work great as a place to set your phone.
Self-Timer Settings
When you open up the camera on your iPhone, look for this icon at the top of your phone. You will then be able to choose between a 3s or 10s self-timer.
Focusing Your Camera
To focus your iPhone camera on a certain subject, tap the screen where you want it to focus. (On the subjects face.)
Then, to make sure the focus doesn’t change as you run in front of the camera, when you tap the screen, hold down your finger until you see the words AE/AF LOCK across the top. That means your camera is locked into that exposure (Auto Exposure) and focus (Auto Focus).
Other Tips
To set the proper exposure before locking it in with AE/AF LOCK, after tapping the screen for focus, you can slide your finger up and down to adjust the brightness of the image. When you’ve got it right where you want it, that’s when you hold your finger down to set the lock on both the exposure and the focus.
To keep your phone from falling over, you can lean it back against something weighted that won’t move. Just be sure that your phone isn’t tilted too far back because it will likely cut off your feet in the frame and might be an unflattering angle since it will be titled up towards the subjects. I’ve had my fair share of double chins, y’all!
Let’s do this thing
Now you’re ready to take amazing family photos with self-timer. Wanna take it a bit further?
Kick your photos up a notch!
Learn to use your camera like a pro.
Upgrade your equipment.
I think you might enjoy these blogs too!


Recapping the benefits, the struggles, and what habits I hope to keep from my “dumb phone summer.”